Willow Acacia; The turning process of wet/green wood. From the pictures at the bottom. You can see the amount of cracks I needed to attend to. After  the first turning and each time I finish a turning, I add a mixture of shellac, walnut oil (which I didn't like, and used lest of each time.) I also tried tung oil mixed with shellac and two parts alcohol. I can say, as you can see, no other cracks or larger cracks developed. I consider my process a success. the moisture meter is now reading 7.5 to 10% .                            The third picture from the top shows a clear coat finish of cyanoacrylate, sanded to 1200. 


 Filling with azurite, gold dust,silver dust, turquoise .

 Carving out the existing cracks.


 Covering, with excess fall off, to help slow the drying process.

 My hollowing method used.
 All tooling handmade

 LED LIGHT, very helpful. found at Costco
 Colt drilling system


 Parting off, what started off ss the top.

 Home made steady rest, with inline skater wheels
 Here's where I began, to nurture a shape, a design from this piece. I was going to hollow from the right, and chisel down the left to a point. As you have seen above, I went another direction.
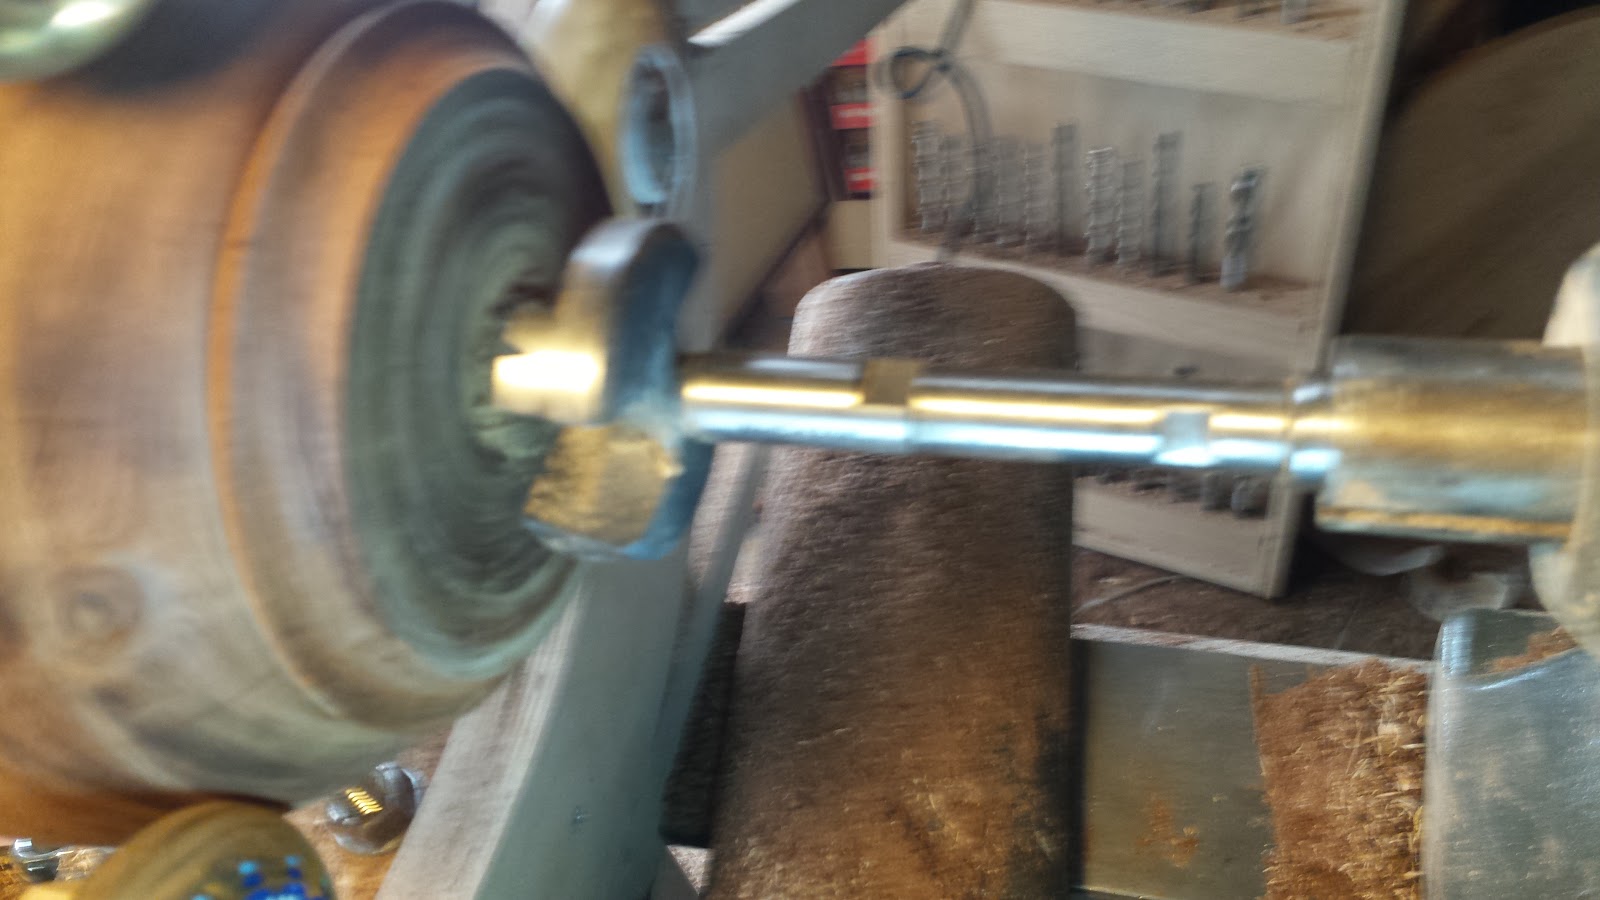
The moisture content was well above 25% at the beginning,  and it's right around 8% two weeks later. I will be trying the same technique on the next turning... Stay tuned for further updates. Visit me at  https://www.etsy.com/shop/GMStudiosPens

Comments

Popular posts from this blog

The making of a sphere jig for the wood lathe, on the fly.

Aluminum block on wood lathe.  My goal is to create a sphere jig, (sounds so much better than a ball jig). First things first, I bought the One Way drill jig at the symposium, in Phoenix this year, with the thought of mounting a router. I never thought I would be using it on aluminum. This picture shows my first attempt at making a "T" washer to use to bolt the sphere jig. The second picture has the jig repositioned, parallel to the bed ways, I like this position much better, as it allows me to plunge to the depth I require. Then I reposition it, toward the center by + 1/8" or so. Also you need to play with the speed of the lathe. I believe I was some where around 250-300 rpm. This piece is a cut off, I never measured the thickness. it is just thicker than the 2 enclosed bearing I plan to mount. Also it's thicker because I wanted to add girth, to ensure more rigidity. This picture show the center knocked out. I used the router to go as thin a...

Figured Olive wood bowl with turquoise inlay

Completed Olive bowl with turquoise Surprise,  It had a baby.... Mounted with revolving tail stock.  Figured Olive wood bowl with turquoise inlays and a live edge. wood turnings, using a lathe, you can see mounted in a nova chuck. On the outside, I have filled the inclusions with real turquoise stone, and using "CA", thick glue to fill the recesses over the the turquoise and the entire exterior.  I have used my shop made carbide chisel to remove the high portions of stone, and a lot of sanding to follow, starting with 150 grit. This will take at lease 10 3" disk on my air powered angle sander. I then will sand up to at least 800 grit, followed by my mixture of shellac/alcohol/ walnut oil. Her you see the bowl with patches of "CA" glue as I add turquoise.  Her is the picture of the preliminary shape with the tenon, before it went into an air kiln. It did warp a little, as suspected. Here you can see it remounted wit...

Mesquite burl hollow vessel, using vacuum chuck for the first time.

Mesquite Burl hollow vessel  and it's life. Here is a general synopsis of hollow vessel work from the beginning to the end, almost end. More pewter fill Starting pewter fill The base is glued and mortised in place Can you image the difficulty in melting metal? See Mortise and tenon The reason I added mounting blank and pored pewter  Now I can begin the fill The view Blocked view Malikite, Pewter, Ironite and more... The unfinished view  I rigged my first attempt at vacuum chucking. Shrink wrap to cover leakage  I use parts from a new Hold Fast system I never could get to work Replaced the shrink wrap with scotch tape over one beetle hole. Vacuum gauge at 15-18 and holding.  Here the is vacuum motor, on it's first run. It was recommended by to turning sites, here's one. http://www.jtturningtools.com/vacuumpumps-kits I had to dial it down, and it held all three...